
Choose a workflow
Historically, PhoneGap Desktop offered a graphical workflow and PhoneGap CLI offered a terminal workflow. Both could serve a project for preview in the Developer App. Packaging a distributable application was a separate step, using platform tooling or the former Build service.
For a new maintained application, begin with Apache Cordova’s current setup guide. The instructions below preserve the original PhoneGap workflow for readers maintaining or researching an existing project.
Install the command-line tools
The PhoneGap CLI provides a command line interface for creating PhoneGap apps as an alternative to using the PhoneGap Desktop App for those who prefer working at the command line. The PhoneGap CLI currently has some additional features over the PhoneGap Desktop for building, running and packaging your PhoneGap applications on multiple platforms. If you're comfortable using a CLI this option may be best going forward.
Requirements
There are a few simple requirements you'll need prior to installing the PhoneGap CLI:
- node.js - a JavaScript runtime to build your JavaScript code
- git - used in the background by the CLI to download assets. It comes pre-installed on some operating systems.
To see if you already have it installed, type git from the command line.
Install Steps
- Install the PhoneGap CLI via
npmwith the following command from the Terminal app (Mac) or Command Prompt (Win).
$ npm install -g phonegap@latest
**Windows 8 Users:** If you just installed Node.js, be sure to start the *Node.js Command Prompt* application specifically.
- Test to ensure the PhoneGap CLI is properly installed by typing
phonegapon the command line. You should see the followinghelptext output displayed:
$ phonegap
Usage: phonegap [options] [commands]
Description:
 PhoneGap command-line tool.
 Commands:
    help [command]       output usage information
    create <path>        create a phonegap project
     ...
Create your first project
Now that you've installed PhoneGap Desktop and/or the PhoneGap CLI
Create Default PhoneGap Project
The PhoneGap CLI has a default Hello World project for beginners to start with. It's proven to be the quickest and easiest way to understand the basics of building a mobile PhoneGap app so let's start by creating the default project with the CLI.
- Enter the following command from your terminal:
$ phonegap create myApp
This will create a folder named myApp in the current path location with a default project name of Hello World and id of com.phonegap.helloworld.
You can also specify a name and identifier to ensure the project is unique but still contains the default Hello World code project by specifying them as qualified parameters as shown below:
$ phonegap create myApp --id "org.myapp.sample" --name "appSample"
- Verify that you see the following output in your console after you run the command:
Creating a new cordova project.
- Change into the new project directory with the
cdcommand:
$ cd myApp/
- Check to be sure you see the following set of files and folders shown below:
config.xml hooks platforms plugins www
cdinto the www folder and look around at the files and subfolders in there, this is the content of your app, with the entry point being the index.html file.
$ cd www/
Preview the project
The PhoneGap CLI has a serve command that starts a small web server to host your project where it can then be consumed by the PhoneGap Developer App running on a mobile device or your desktop browser.
Preview in a Desktop Browser
You can test your apps in your desktop browser first to speed up your initial development process. For instance, if you're using a framework like Angular or React, there are tools available for specifically debugging those frameworks in the browser that can be quite helpful before moving over to a device. Recently PhoneGap began supporting the browser platform as a target automatically to help you test with the deviceready event and Apache Cordova core plugins more easily in an environment you're already familiar with.
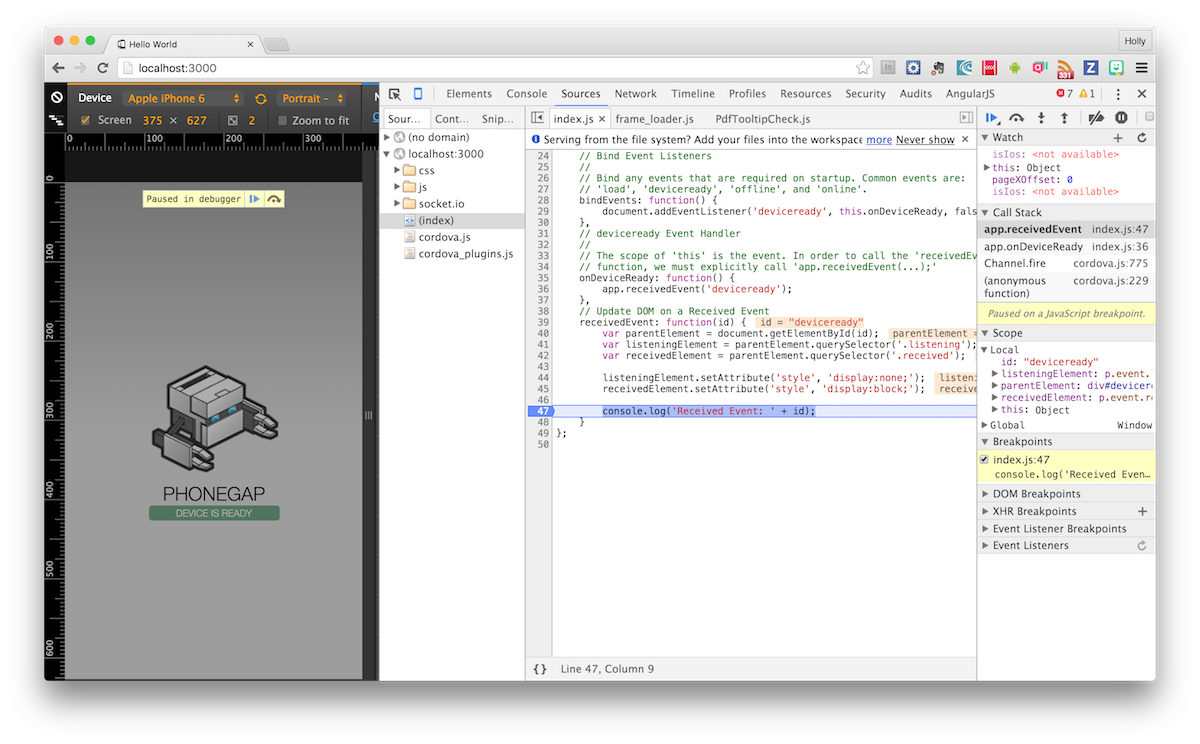
Preview on a Device
You can use the PhoneGap Developer App paired with the PhoneGap CLI to immediately preview your app on a device without installing platform SDKs, registering devices, or compiling code. The PhoneGap CLI starts a small web server to host your project and returns the server address for you to pair with from the PhoneGap Developer App running on your mobile device.
cdinto the project directory created in the previous step and type$ phonegap serve. You will receive the server address the app is being hosted on in the output received in the console (192.168.1.11:3000in this example):
$ phonegap serve
[phonegap] starting app server...
[phonegap] listening on 192.168.1.11:3000
[phonegap]
[phonegap] ctrl-c to stop the server
[phonegap]
- Now go to your mobile device where the PhoneGap Developer App is running, enter the server address on the main screen and tap Connect.
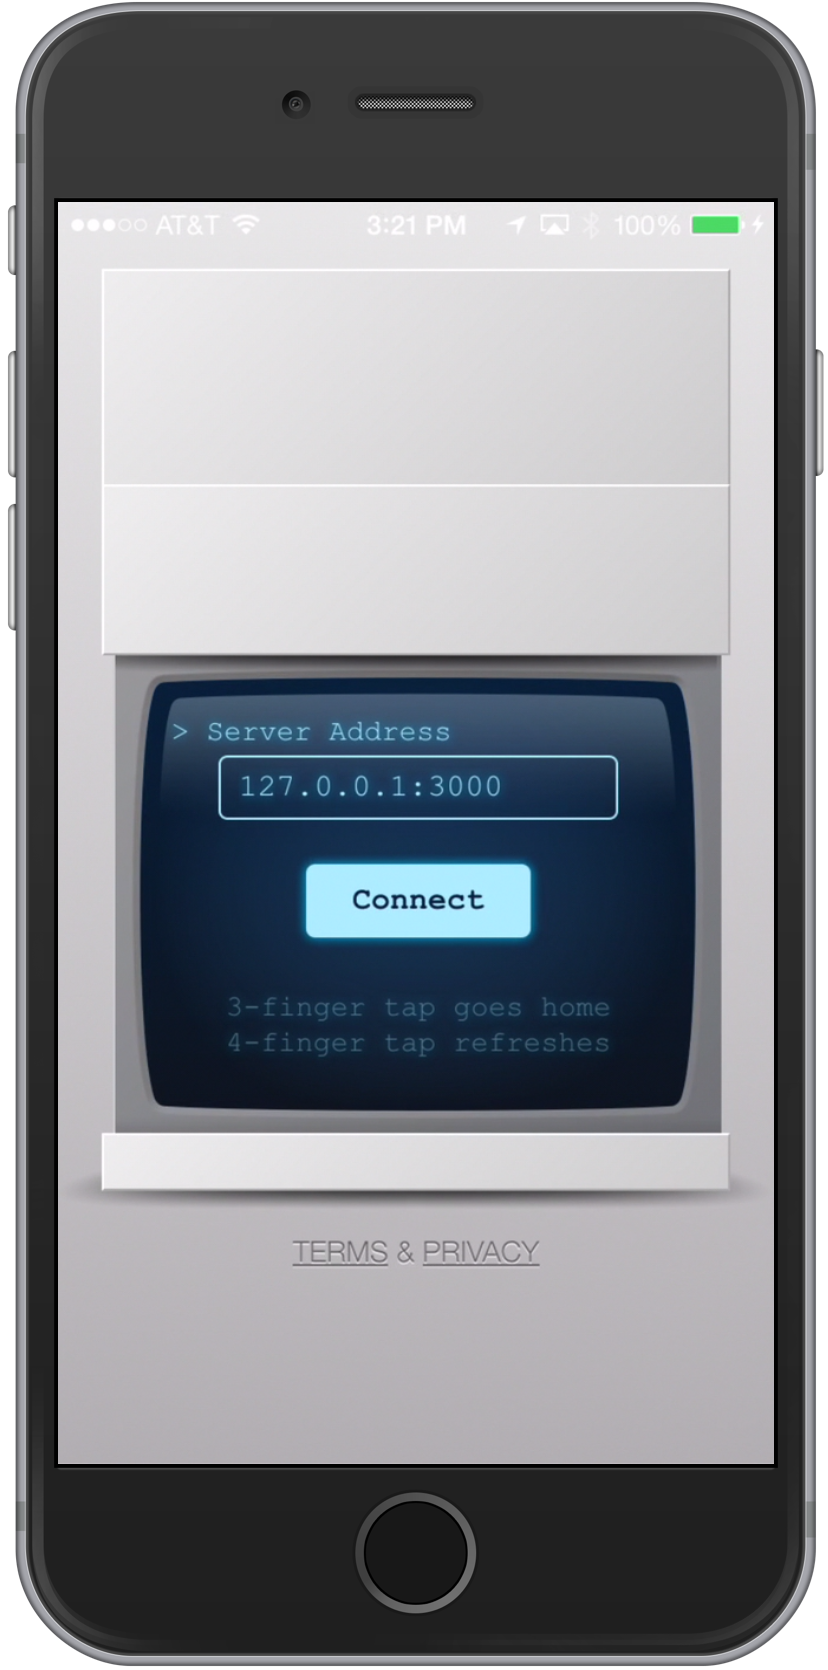
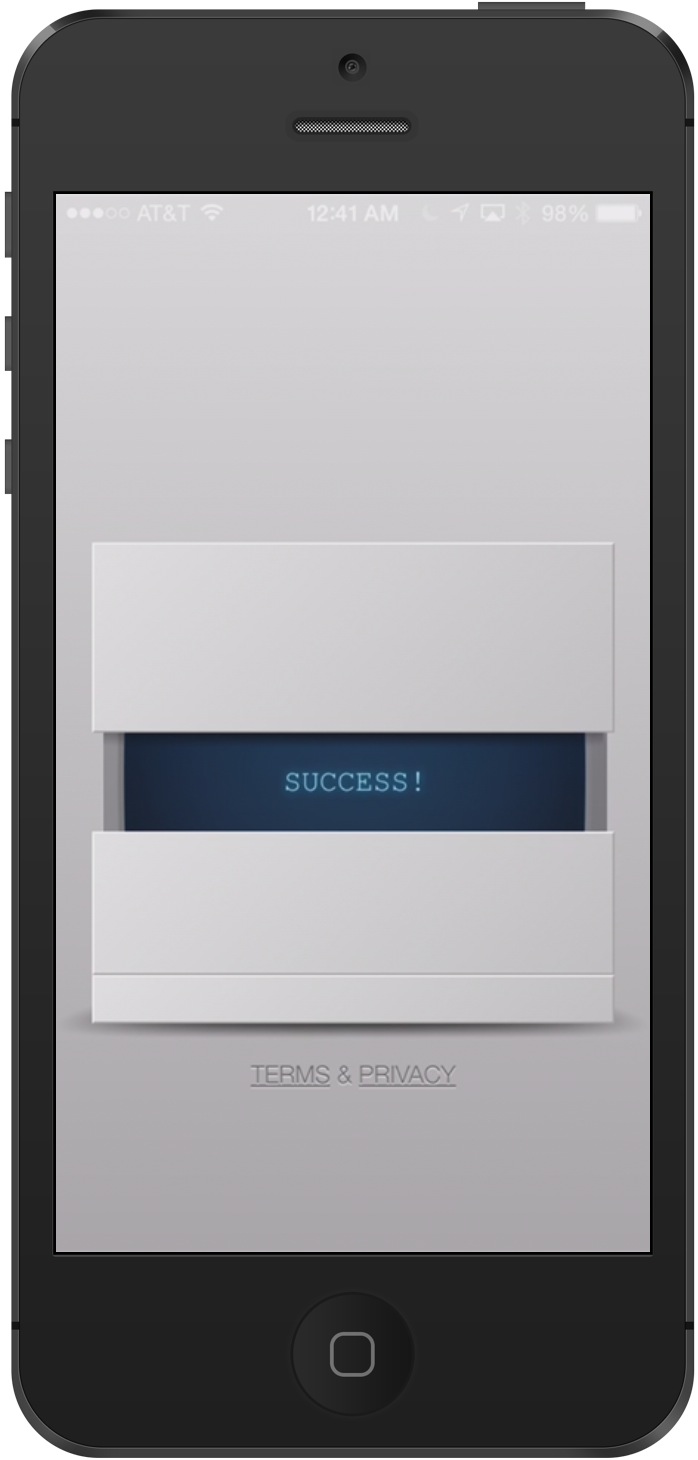
You should see the connection occur followed by a success message as shown below. If you receive an error of any kind, ensure once again that you are connected to the same network on both your device and your computer. You could also check the issue tracker and PhoneGap Google Groups list for further help.
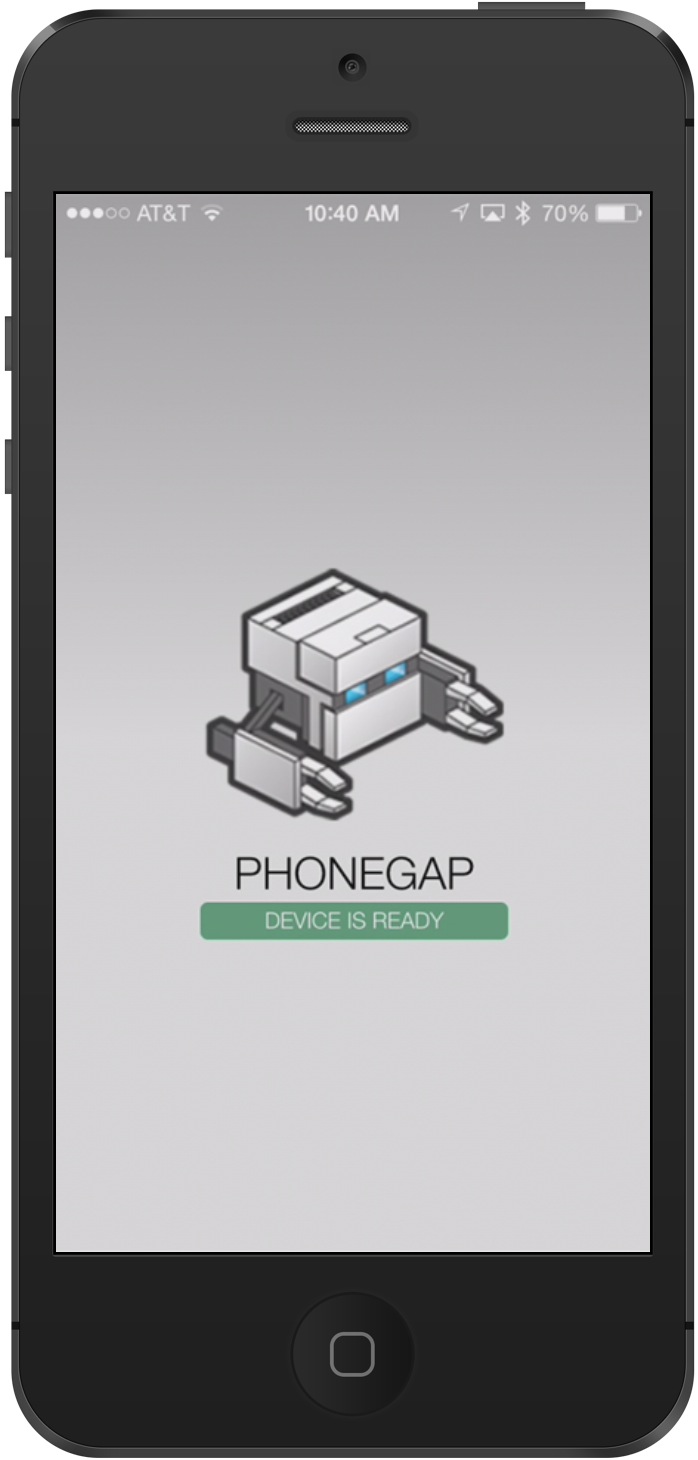
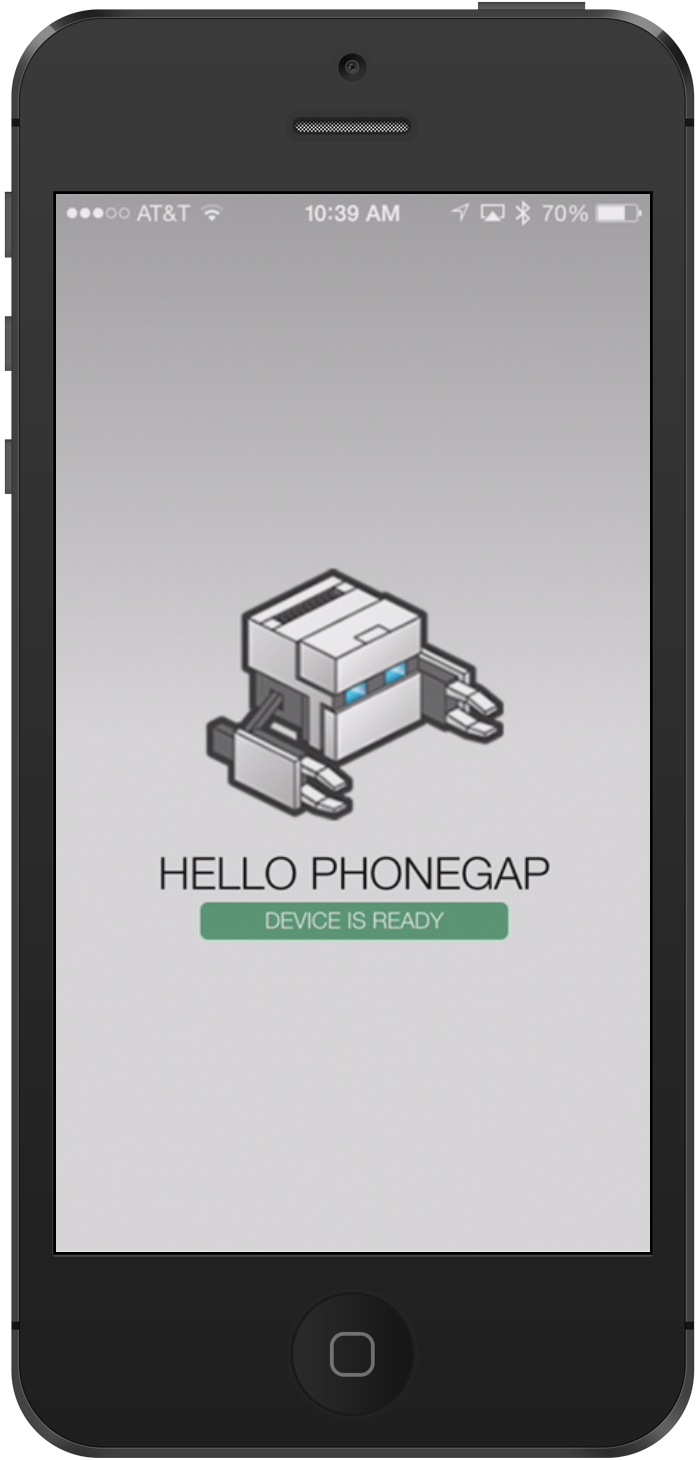
Once the PhoneGap Developer app connects and loads your mobile application, it should be displayed for preview as shown below:
Making Updates
- Now let's make an update to some code to see how easy it is to test changes. Using your favorite text editor, open up the index.html file located within the www folder of your project; for instance ~/appSample/www/index.html
Choose an update to make. Let's start by changing the PHONEGAP text that's displayed in the app from
<h1>PhoneGap</h1>to<h1>Hello PhoneGap</h1>. (This text has a CSS uppercase transform applied to it in the default project). Save it when you're finished and move on to the next step.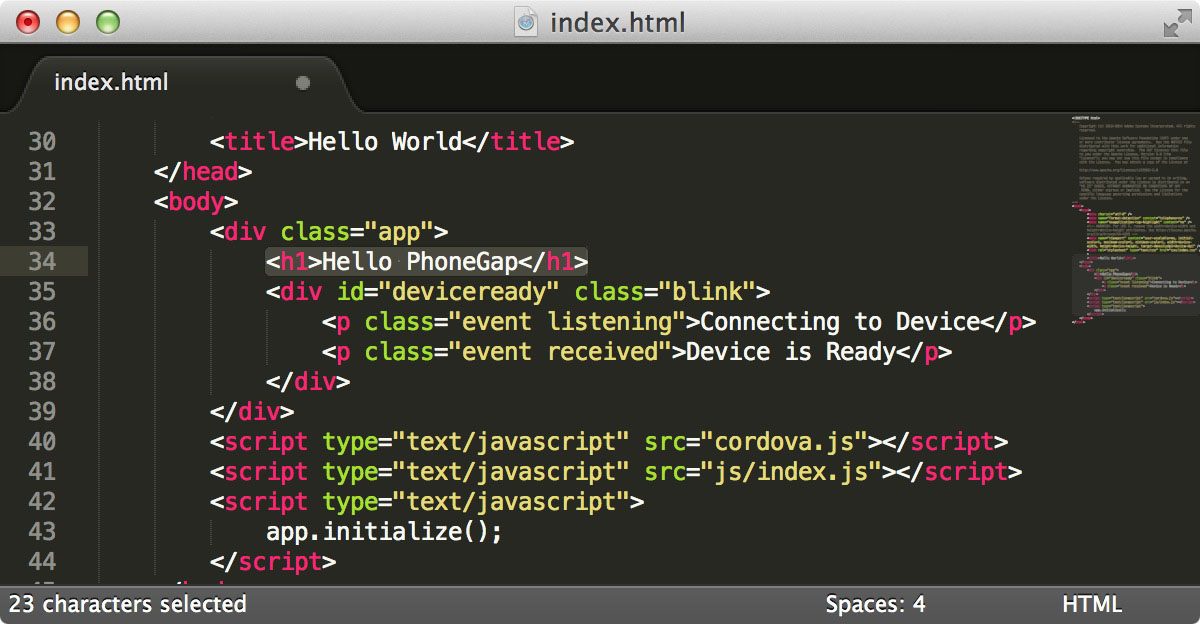
Now check your mobile device where your PhoneGap Developer app is running and you will see your app reload and automatically display the new text!

- Continue making updates to your project to get familiar with this workflow.
At this point you should check out this guide explaining important details about the default Hello PhoneGap application and mobile application development tips with PhoneGap in general.
Prefer a graphical installer?
Read the Desktop installation archive and use the official release archive. The Desktop instructions are historical and may refer to operating systems and download locations that are no longer supported.
Move an existing application forward
Preserve the app identifier, web assets, plugin list and signing records. Compare each plugin and platform requirement with the current Cordova documentation. Build and test one platform at a time; review permissions and network access rather than assuming that the old configuration transfers unchanged.
iOS and platform requirements
Creating a project and previewing web assets is different from compiling its native iOS application. A local iOS build needs the appropriate Apple development toolchain and signing configuration. Read the historical iOS guide for the old workflow, or the current Cordova iOS documentation for maintained development.
Sources & archive notes
Recovered repository material is attributed to its original authors and distributed with its source license. Changes: FreeSoft layout, archive context, navigation, link and image locations. Apache License 2.0 · Notices and provenance. Editorial material is labeled separately.